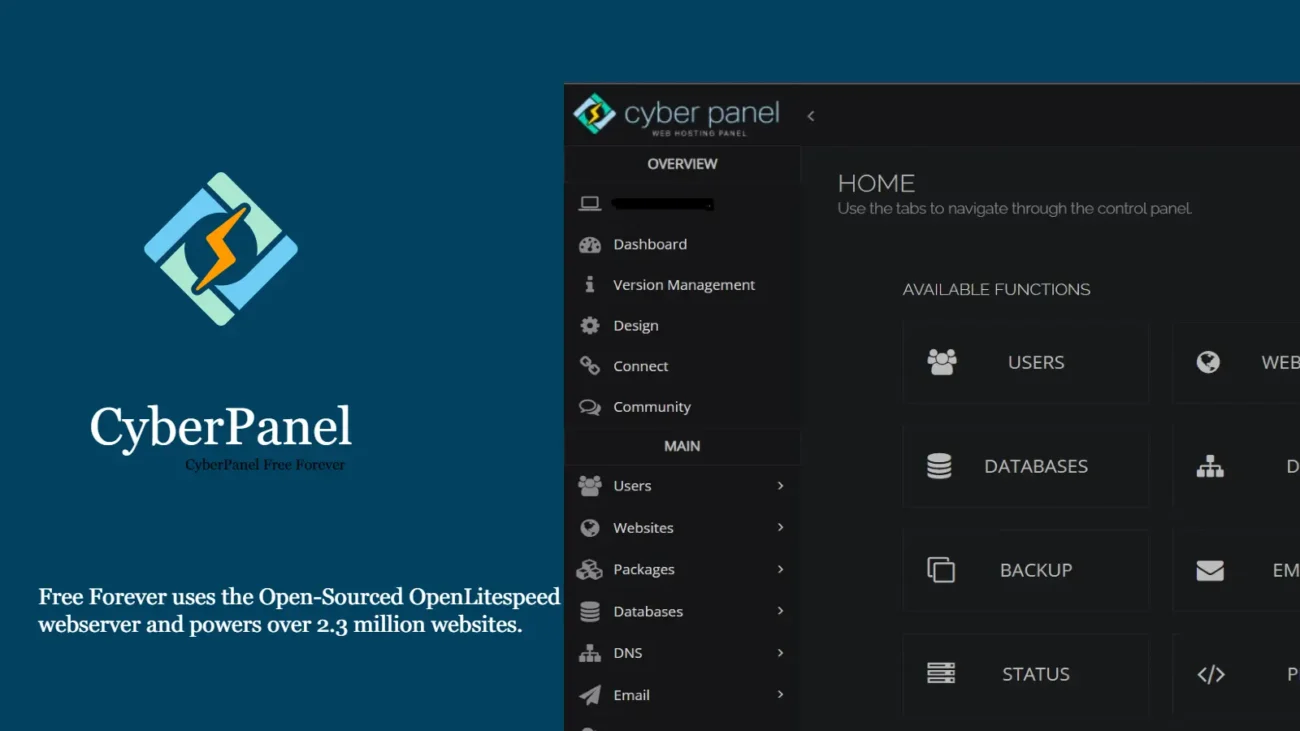
If you’re looking for a fast, modern, and feature-packed web hosting control panel, CyberPanel is a fantastic choice. Powered by OpenLiteSpeed, it’s free, lightweight, and built with performance in mind.
Whether you’re a developer managing your own projects or a small business owner looking to host websites without the complexity of cPanel, CyberPanel makes it easy—and installing it on Ubuntu is surprisingly straightforward.
In this guide, I’ll walk you through how to install CyberPanel on an Ubuntu server, step by step.
🧠 What Is CyberPanel?
Before we dive into the install, here’s a quick rundown:
- ✅ Free and open-source
- ⚡ Built on OpenLiteSpeed for high performance
- 📦 Comes with built-in support for SSL, email, FTP, DNS, and databases
- 🧠 Integrated support for LiteSpeed Cache, WordPress, and automatic backups
- 🔐 Includes a web-based file manager and security tools
Pretty solid, right? Let’s get started!
🛠️ Prerequisites
Before installing CyberPanel, make sure you have:
- An Ubuntu 20.04 or 22.04 server (fresh install recommended)
- Root access or a user with sudo privileges
- At least 1GB RAM (2GB+ recommended for production use)
- A domain name (optional, but useful if you want to access CyberPanel via a subdomain)
💡 Pro tip: If you don’t have a server yet, you can spin one up easily with providers like DigitalOcean, Linode, or Vultr.
📥 Step-by-Step Installation
1. 🔄 Update Your System
First, make sure your server is up to date:
sudo apt update && sudo apt upgrade -y
2. 📲 Download the Installer
Now, download the CyberPanel installer:
sudo apt install curl -y
curl -s https://cyberpanel.net/install.sh | sudo bash
3. 🧙♂️ Choose Your Installation Options
The installer will now prompt you with a few options. Here’s what to expect:
- Full installation (with OpenLiteSpeed) – Choose this unless you have specific needs.
- Set admin password – You can either let CyberPanel generate one or set your own.
- Install PowerDNS, Postfix, etc. – Recommended if you want DNS and email support.
- Install Memcached/Redis – Optional, but great for performance.
- Install Watchdog – Optional monitoring tool.
Just follow the prompts and choose what suits your setup.
4. ☕ Grab a Coffee
The installation will take around 10–20 minutes depending on your server. Once it’s done, you’ll see your CyberPanel admin URL and login credentials in the terminal.
🔐 Accessing CyberPanel
Once installation is complete, you can access CyberPanel by visiting:
https://your-server-ip:8090🌐 If you pointed a domain to your server, you can also use:
https://your-domain.com:8090Log in with:
- Username:
admin - Password: The one you set during install (or the auto-generated one)
✅ What to Do Next
You’re in! 🎉 Here’s what you can do now:
- Set up your first website
- Create databases and FTP accounts
- Install WordPress with 1-click
- Enable SSL for secure HTTPS
- Add your domain to CyberPanel for easy management
💡 Final Tips
- Security First: Make sure your firewall allows port
8090(or use UFW to open it). - Backups: Use the built-in backup tools to keep your sites safe.
- LiteSpeed Cache: Take advantage of it if you’re hosting WordPress—it’s blazing fast!
📝 Wrapping Up
Installing CyberPanel on Ubuntu is a smooth process and gives you a powerful alternative to cPanel—without the cost. Whether you’re hosting a blog, running a client site, or building your own app, CyberPanel makes web hosting easy and efficient.
If you found this helpful, feel free to share it with fellow developers or server enthusiasts!
Need help setting up domains, SSL, or WordPress on CyberPanel? I can write guides on that too—just drop a message!